Monday, May 11, 2015

A Week of Wardrobe Challenge- Bottom number 3

Hi there!  Sorry about the radio-silence.  I have been manically sewing over the last couple of weeks to finish this wardrobe challenge for Pattern Review.  Since we last spoke, I made two more tops, a skirt, a dress, and a belt.  That's a lot to talk about, so I figured since I need a break from sewing, I'll spend the week blogging.  One piece of clothing a day, culminating with the entire wardrobe on Friday.  (Friday is the 15th, the deadline for the entering the contest, so everything must be done by then.)  I was going to blog in order of making, but I decided to skip ahead to my last skirt.  Originally, this was going to be the Gabriola skirt by Sewaholic in a beautiful blue suiting, but I figured I needed something more cohesive with the collect- also why there is another top in the mix,  if we're being honest, the blue plaid one did not really go with my first quilted skirt.  First you say?  Yes that is right, I made a second quilted skirt.  This time in denim.
Three hundred and sixty squares of denim to be exact.  I used the leftover denim from my Ginger jeans, and then a little bit of my new denim that I received for more Ginger jeans (the Ginger Jeans kit from Cone Mill denim).  As I wanted the gradation, I used the right side of the denim I bought here, then the wrong side of it, then the wrong side of the blue Cone Mills and finally the wrong side of the black Cone Mills.
Chevron!  Each square was 2.5 inches by 2.5 inches.  Which then was sewn in the pattern.  If you're in the Stashbusting 2015 facebook group, you probably saw my pattern sheet.  I used graph paper, and it really helped, in a. making sure I didn't over or under cut squares, and b. I didn't have to really think about the pattern.
Apparently my ass is just the right size for the patter to perfectly match on the back. I did not plan for this at all.  But looks pretty awesome right?  For the skirt, it's the same pattern as for my first quilted skirt, except that the side dart was broken into two smaller darts so I didn't lose any squares.  I also used a double sided zipper (is this what it's called?) instead of a vent.  
You can see here, why I didn't want to lose a single square, it would have looked funny without that one medium colored one on the top row.  Let's see, other construction notes.  I serged every seam.  Big mistake.  While this skirt will not fall apart every, it's somewhat uncomfortable to sit in for long stretches of time.  Think grid pattern.  My machine also hated it.  I've never broken so many needles.  Fortuitously, I double ordered denim needles, so I should have enough for my next two pairs of Gingers.


I used some midweight jersey as a facing, to keep the bulk down, but also allow for the denim to stretch.  As the fabric is thicker than the suiting I used for the last skirt, it's a bit more snug.  I'm sure you're wondering how the skirt looks with the rest of the wardrobe. 


You have to wait tomorrow to see it with one of the other tops, and then Wednesday for the other top.  Patience my dear readers!  Up next, is the replacement for the plaid top.  Until then Happy Sewing!  Oh yes, in case you're wondering, I chopped my hair off yesterday.  It's been driving me nuts for awhile, as I don't like to wear it down, but when I put it up I get headaches.  So pixie cut for me!

Saturday, April 25, 2015

Wardrobe Challenge- Capital Chic Bellini in Plaid

I started writing this post last night, but words would not flow.  Every sentence I wrote made no sense.  It is evaluation season at work, and I am at a loss there as well.  I will get this post done and then I will write my evaluation.  (It's not a normal evaluation, as I write the first third of it, my direct supervisor writes the second third and then my boss's boss writes the last third and each part is about a page long....... Blah!)  Anyway, for my third top for the wardrobe challenge, I made another version of Capital Chic's Bellini.  This time I added a bias yoke in front and back and left off the collar. I've already extensively reviewed this pattern, I love it, so we'll keep this post short and sweet.
I used a plaid silk that I got at Sarah's Fabrics in Lawrence, Kansas last time I was there (over Christmas).  It wasn't labeled to the type of silk, but it's very smooth and densely woven.  It is very light and slightly sheer, so I underlined it with a blue cotton/silk batiste.  This worked really well and it's quite a luscious top to wear.


The main portion of the shirt is cut on the straight grain and then the yokes are on the bias.  I cut the underling on the bias, but next time, I'll cut them on the straight grain.
Let's talk a little bit about the underling.  I used the same method that I used in my hot air balloon dress. I sewed right sides together with a quarter inch seam leaving for the yoke the neckline unsewn and for the main portion the hem unsewn.  I then flipped it right side out and sewed the shirt with 3/8th inch seams.  Which mistake!  They needed to be quarter inch seams.  I didn't realize this until I everything was done and I put it on and it pulls ever so slightly at the bust.  That half of inch was totally needed!
See!  Ugh!  Other than that it is absolutely perfect and exactly what I imagined in my mind when I drew the sketch. 

Well, I changed the position of the bias versus the straight plaid, but other than that, exact!  And speaking of exact, check out that pattern matching!
Unfortunately not as perfect on the other side.
What else to say, I finished both the neckline and the hem with satin bias binding which was then folded over and stitched down.  The sleeves were just folded over.  The placket was folded over twice. 
Buttons are from Yekaterinburg, Russia from my favorite button store of all time.  I love these buttons!  And they were something like 10 cents each.  I am sure you are wondering how this will wear with the quilted skirt.  Not too poorly, I think, I've worn crazier ensembles.


 Here it is with my jacket:
And finally, back with the jeans with the jacket.

Over all, I love my new top.  Next up is the button down with the one large black flower.  Meaning I have to make the fabric!  I have some interesting photo screening printing ink for fabric, so we'll see how it works!  I'll try and take lots of pictures.  Until next time, happy sewing!


Sunday, April 19, 2015

Wardrobe Challenge Outfit Number 2 and the Start of the Mixing and Matching

Well, now I understand how much patience it takes to quilt something.  I did all of 16 straight lines, and it took me forever, I want to see 3-4 hours, but I am not sure if that is really accurate.  I feel like I had to seam rip every other line out.  I also had to repin once I finished each line.  The next time I'm in the U.S., I'll pick up some spray adhesive.  However, will they even allow that on a plane?  Hmmm, research.  Anyway... I finished the skirt yesterday morning, and since it was a weekend, I decided to make one of the tops so that I can photograph everything together. Ta-da!
The pink was a pain in the but to color correct, but look how much better the photos came out.  I still need to get a second lighting source for my sewing room, but it's getting there.  I took the time this morning, did my makeup and hair, moved the sewing table out of the way and messed around until a. my camera decided to work again and b. the photos came out alright.  What do you think?
Let's start with the skirt- the pattern was combining my two favorite pencil skirt patterns and then making it as single seam skirt.  Yes, that shaping is done with all darts.  For the waist and hips it's Vogue 8640 which has four front darts and four back darts, for the sides I added two fairly giant darts, which seemed to work well.  For the bottom half of the skirt, it's Vogue 2514, because I love the mitered pleat, it makes it so easy to hem.  Plus- the hem was the exact width of a row.  Talk about lucky!
Here's a look at the back.  I used an exposed regular zip (originally I had a pink invisible zipper in and it wasn't invisible.)  The pattern didn't exactly match up in the back, but it doesn't bother me, as at least the rows match up. 
Looking at this photo you can tell that I need a second light to evenly light the whole picture.  Guess I'll be ordering an Ott-lite from Amazon.  But you can see the nice fit of the skirt.

A closer look at the top so you can see the detailing.  It's a cotton with pintucks and lace added.  I used Marfy 3797 for the base of the top.  Well, Marfy 3797 didn't have any pictures of it in the Marfy catalog, but that is where I got it, so I didn't realize how giant it was!  I took out 2+inches on the sides and on the sleeve length.  Eek!  I also messed around with the seaming, as Marfy 3797 is a simple kimono tunic (that should have alerted me to the ginormity of the sizing).  I added a curved seam in both the front and back so I could have the plaid both straight and diagonal.  Suprizinly, the straight plaid is cut on the bias. 
As I didn't have a whole lot of fabric, I had to add a back center seam.  After I had sewn it up, I realized that I could have done something cuter with it, but oh well!  The sleeves and the hem are just folded up twice.  I biased bound the neckline and stitched it down.  Now back to the skirt, I am sure you are dying to see the inside of the skirt, as it is awesome!  I used more of my poly-satin hot pink polkadots, black coutil, and lime green bias binding to finish all the edges. 


So part of the wardrobe challenge is that ALL the pieces must be able to be worn with each other- so here are all the different combinations I have made so far!  I was most worried about the giant blue floral top with the quilted skirt, but I think it works. 


Anyway, I have four more pieces to make in the next couple of weeks, so back to the sewing machine for me.  Until next time, happy sewing!

Sunday, April 12, 2015

Round Two in the Wardrobe Challenge, or I'm Super Impressed with Quilters

Just a quick post today, as I've got a massive amount of sewing to get done.  I just wanted to stop by and show some in progress shots, as this is something I've never done before.  Quilting.  I take that back.  When I was last pregnant, I got it into my head that I was going to make a quilt for my little guy.  I made four blocks before I decided that it wasn't necessary.  Granted I made my own design, and it may have been really complicated.  Anyway, one of the bottoms I wanted to make for the wardrobe challenge was a pencil skirt out of the last of my gray pinstripe.  But then I realize that I have a gray pinstripe dress that I never wear because of the shoulders always slipping off with the exact skirt for the bottom.  So I chopped off the bodice and finished the skirt.  Which means that I can't use it in the contest unless I want it to be my one 'premade' item.  So back to the drawing board.
This is what I came up with.  It is heavily inspired by a skirt pattern I saw here.  But as I'm not buying patterns, I am going at it without the pattern.  Also I didn't want chevrons, but stripes.  I decided to use the gray pinstripe with the last of my pink wool.  I wasn't sure if I had enough fabric, and how was I going to move around the pinstripe without wasting even more fabric, so I thought about revising my design to something simpler.
Here were two other iterations of it.  Squares instead of parallelograms.  I even went so far to draw out a large template with the squares.  You can see that I added blue to the design.  I wasn't to thrilled with the effect.  So I bit the bullet and cut out 240ish parallelograms, over a period of a couple of days. Then I pulled out my last bit of interfacing- luckily a giant rectangle of black lightweight weft interfacing.  Why would I interface you ask?  I'm a glutton for punishment right?  Well the wools are slightly different in their drapes/weights so interfacing makes up for that.  
Here are 12 of the 15 of the rows laid out on the interfacing.  I laid them out in the design, as I figured it would be easier to put together and not get lost in the design.  I left it overnight before I fused, to make sure I didn't put a horizontal where it needed to be a vertical.  And luckily my cutting table was made to be a giant ironing board.  That helped immensely.  I barely had enough of the pinstripe.  I had to use scraps at the end.  I dismantled the bodice of the dress and used every bit of it up.
Since I fused the pieces this morning, I have been slowly making the rows.  The squares would have been so much easier.  I could have fused them all in one big block and then sewn, but doesn't it look cool?  I hope it does!  Once the fabric is made, I will make a single seam pencil skirt with all the waist shaping done by darts.  This will save matching up the fabric as well as fabric itself.  Hopefully, I can get this done in the next couple of days because I still have 5 more things to make!  Ack!  We'll see right?  So a couple of other things- I broke down and took my tripod out with me to the park to see if that would make the difference in the pictures.  I think it did, here is my wardrobe challenge first outfit reshot:


I think part of the issue is that I rasterize all my pictures in a batch to make them all smaller.  I think this degrades some of the details- you can see the pixalization in the jeans a little bit.  Maybe I need to change the settings.  When I manually shrink the picture- it ends up 5x7.5 with 200pixel/inch- or 1000x1500 pixels.  When it does it in a batch, it stays at 72 dpi but ends up at 1000x1500 pixels.  I'll mess around with it some more.  I also have been figuring out different settings on my camera.  I'm usually fairly lazy and use the creative auto settings, but now I'm messing around with the portrait settings (it allows for f-stop manipulation, changing the ISO, etc.)  To be honest, if I didn't have two kids, I'd be more likely to shoot in manual, but that's life right?  I need to get back to sewing, but I'll leave you with some pictures of the little guy, as he is who I was practicing on.  Much better right?


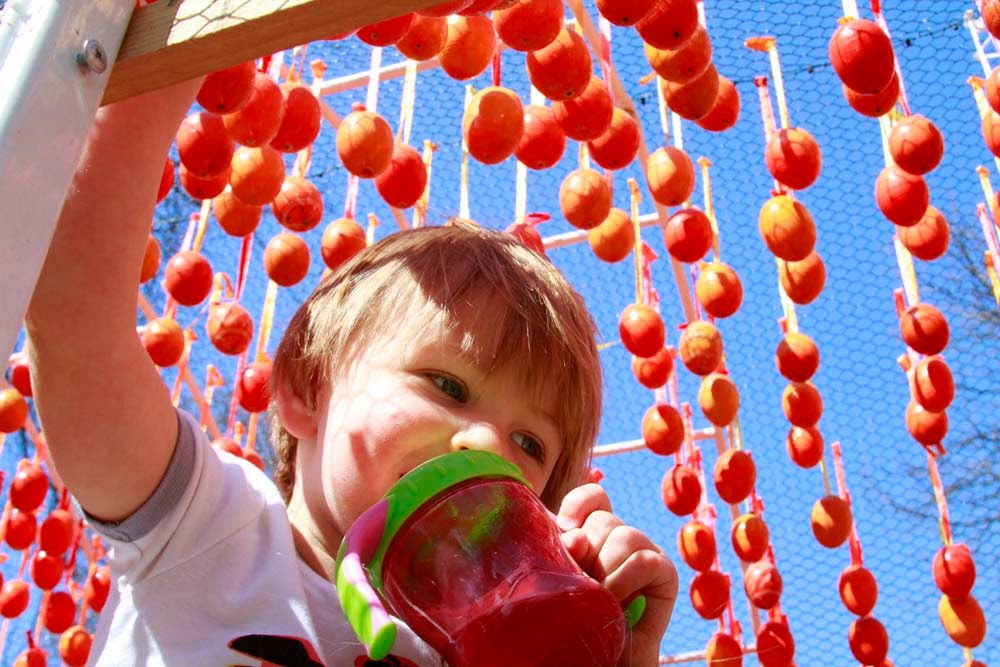
Anyway, until next time happy sewing!  I have more pictures from the Pisanky egg festival, where we went yesterday, I'll put them up another time.  All I can say is that spring has sprung, and it's glorious!